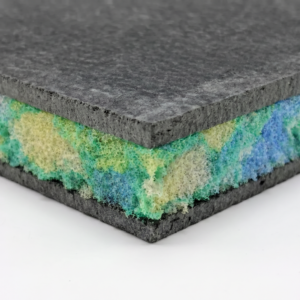
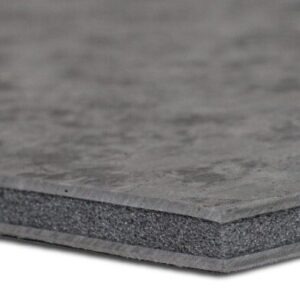
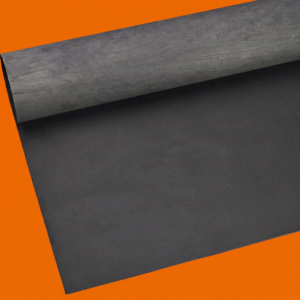
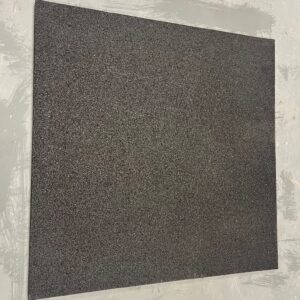
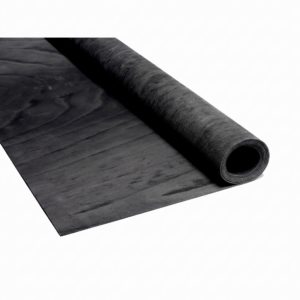
MLV50 Non-Adhesive Acoustic Membrane
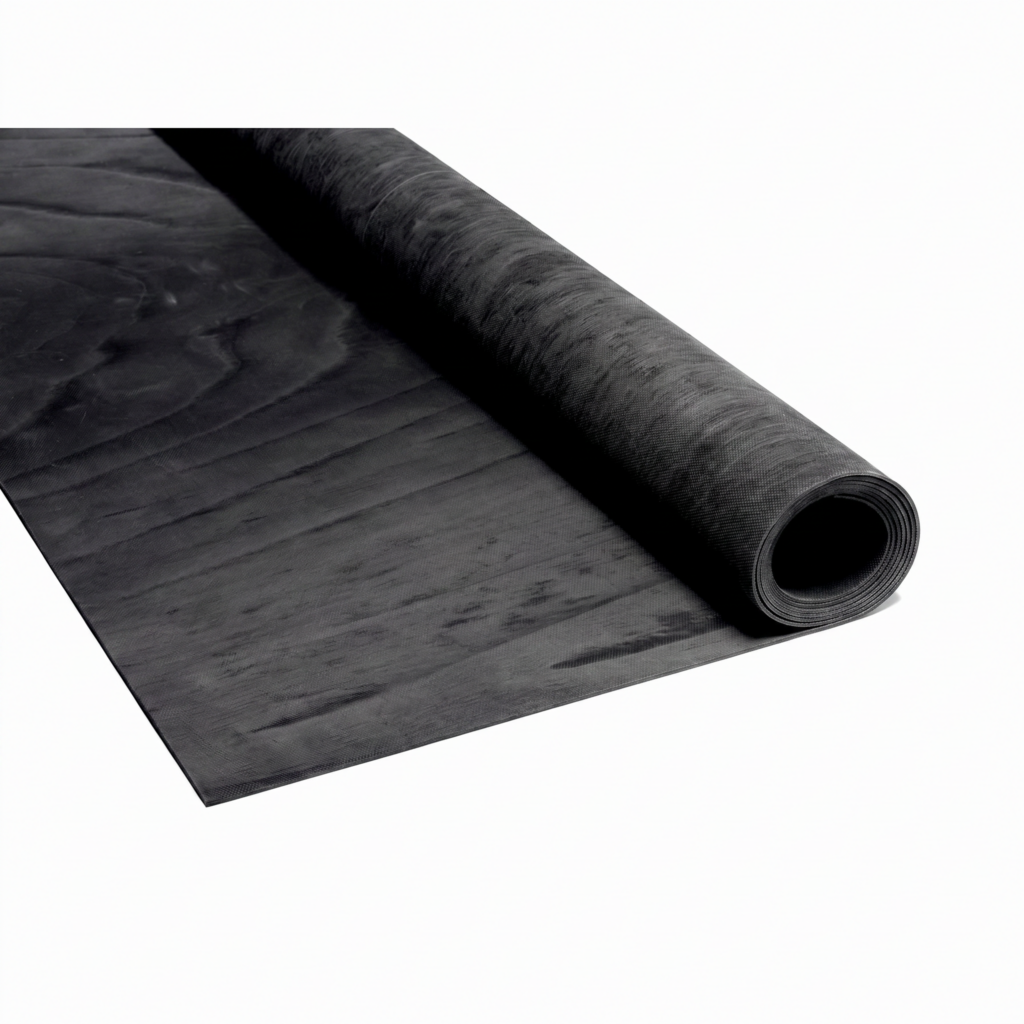
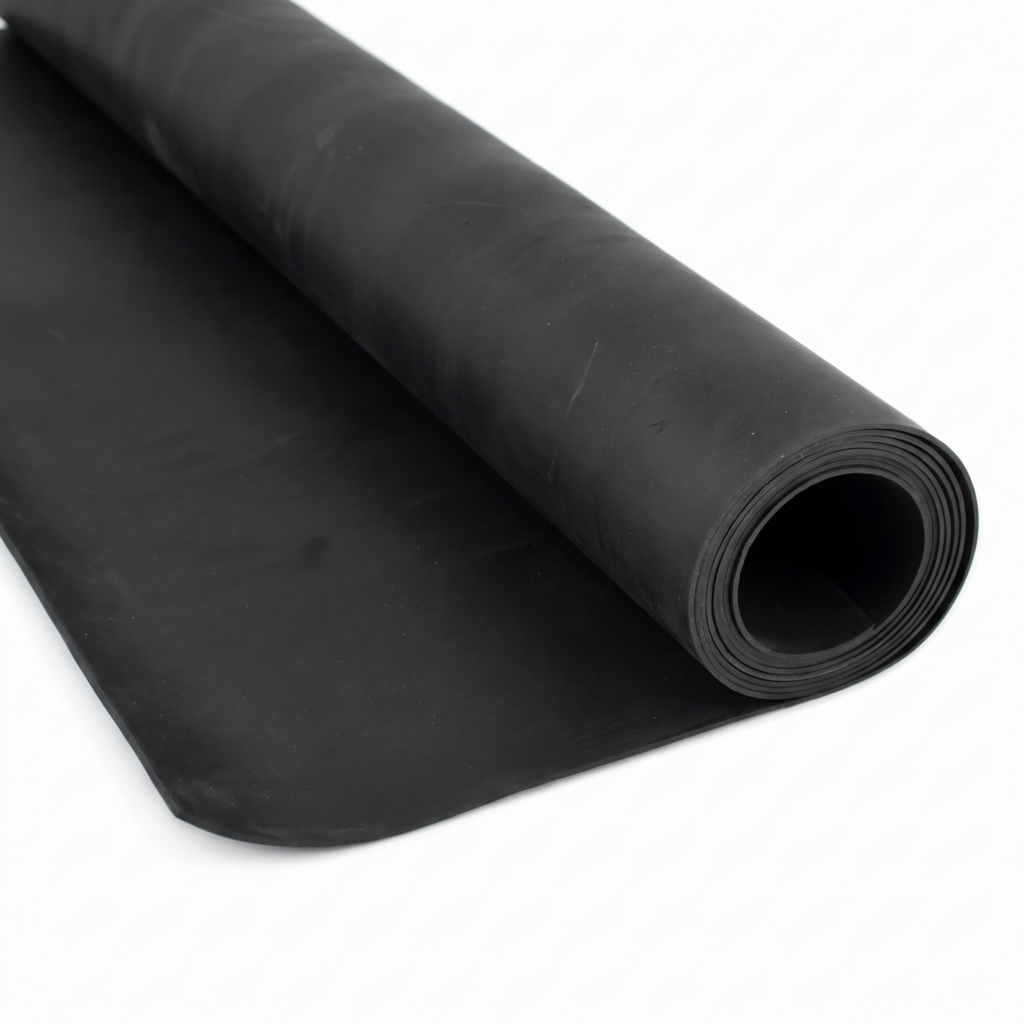
MLV50 Non-Adhesive Acoustic Membrane is a high-density mass loaded acoustic membrane designed to add mass and improve sound insulation in walls, floors and ceilings. Supplied in a 1.2m x 6m roll, each roll covers 7.2m² and provides a slim acoustic barrier layer with a mass of 5kg/m².
MLV50 is a non-adhesive sound barrier membrane loaded with naturally occurring minerals. It is commonly used in combination with plasterboard, acoustic boards, timber sheet materials and other soundproofing products to help reduce airborne noise transfer through building structures.
What is MLV50 Non-Adhesive Acoustic Membrane used for?
MLV50 is used to add mass to wall, floor and ceiling systems. Because this version is non-adhesive, it can be installed using a suitable separate adhesive, mechanical fixing where appropriate, or sandwiched between board layers as part of a complete acoustic build-up.
It is commonly used in party wall upgrades, stud wall systems, ceiling soundproofing systems, floor soundproofing build-ups, media rooms, home offices, studios, commercial spaces and refurbishment projects.
How does MLV50 acoustic membrane work?
MLV50 works by adding a dense, flexible mass layer to the structure. The added mass helps resist airborne sound transmission, while the flexible membrane can also help reduce vibration within the overall build-up.
The membrane is normally installed between or behind suitable sheet materials, such as plasterboard, acoustic plasterboard, DBx boards, SBx boards, plywood or other compatible board layers.
MLV50 is usually not used as a standalone soundproofing product. It performs best when combined with suitable boards, acoustic insulation, resilient systems and acoustic sealant.
What type of noise does MLV50 help reduce?
MLV50 is mainly used to help reduce airborne noise. This includes voices, TV noise, music, office noise, traffic noise and general room-to-room sound transfer.
When used in floor and ceiling systems, it can also support the wider acoustic build-up by adding mass to reduce sound transmission. Impact noise from footsteps normally requires additional resilient layers, acoustic underlays, floating floor systems or ceiling isolation products.
Where can MLV50 be used?
MLV50 Non-Adhesive Acoustic Membrane is suitable for a range of domestic, commercial and trade soundproofing applications, including:
- Party wall soundproofing
- Stud wall upgrades
- Acoustic plasterboard systems
- Ceiling soundproofing systems
- Floor soundproofing build-ups
- Timber sheet material upgrades
- Home offices, studios and media rooms
- Flats, apartments and residential refurbishments
- Commercial offices, meeting rooms and shared spaces
- General airborne noise reduction projects
Why choose MLV50 Non-Adhesive Acoustic Membrane?
MLV50 is useful where extra acoustic mass is required but available space is limited. Its slim profile allows it to be added into a wall, floor or ceiling build-up without creating a deep system.
The non-adhesive format is useful where the installer wants more control over the fixing method. It can be used with separate adhesive, fixed temporarily during installation, or trapped between board layers depending on the system design.
MLV50 Non-Adhesive vs MLV50 SA — what is the difference?
The main difference is the backing. MLV50 Non-Adhesive does not have a self-adhesive layer, so it normally requires separate adhesive, mechanical support or installation between board layers.
MLV50 SA has a self-adhesive backing, which can make it easier to bond directly to suitable boards or prepared surfaces. The right option depends on the installation method, surface type, application and whether you need the membrane to stay fixed in place during fitting.
Key benefits
- Non-adhesive acoustic membrane — flexible installation method for walls, floors and ceilings.
- 5kg/m² mass — adds useful acoustic mass to the soundproofing build-up.
- Slim acoustic layer — helps improve performance without adding excessive depth.
- Helps reduce airborne noise — useful for voices, TV noise, music and general sound transfer.
- 7.2m² coverage per roll — suitable for larger wall, floor and ceiling areas.
- Flexible membrane — can be cut and shaped around boards, corners and service details.
- Suitable for multiple applications — useful in walls, floors, ceilings and sheet material systems.
- Works within complete systems — can be combined with plasterboard, acoustic boards, mineral wool, resilient bars and acoustic sealant.
- Lead-free and bitumen-free — manufactured without lead, unrefined aromatic oils or bitumen.
- Suitable for DIY and trade — practical for home projects, refurbishments and professional installations.
Helpful advice before buying
MLV50 performs best when used as part of a complete acoustic system. The final result will depend on the existing wall, floor or ceiling construction, the supporting board layers, installation quality and how well gaps, joints and weak points are sealed.
For wall and ceiling soundproofing, MLV50 is commonly combined with plasterboard, acoustic boards, acoustic mineral wool, resilient bars, furring channels and acoustic sealant. For floors, it may be used as part of a wider build-up with acoustic boards, acoustic underlays or floating floor layers.
If you are unsure whether MLV50 is right for your project, please contact our team before ordering. We can help advise on the most suitable soundproofing system based on your room, noise issue, structure and available build-up depth.
MLV50 Non-Adhesive Acoustic Membrane Technical Specifications
MLV50 Non-Adhesive Acoustic Membrane is a high-density mass loaded acoustic membrane used to add mass and improve airborne sound insulation in wall, floor and ceiling systems. It is a slim, flexible, non-adhesive sound barrier designed for use as part of a complete soundproofing build-up.
Product Specification
| Product Name |
MLV50 Non-Adhesive Acoustic Membrane |
| Product Type |
Non-adhesive mass loaded acoustic membrane |
| Material |
Mineral-loaded flexible acoustic barrier membrane |
| Application |
Walls, floors and ceilings |
| Suitable For |
Party walls, stud walls, ceilings, floors, plasterboard systems, timber sheet materials and acoustic board build-ups |
| Roll Size |
1.2m x 6m |
| Coverage |
7.2m² per roll |
| Thickness |
Approx. +/- 2mm |
| Mass |
5kg/m² |
| Approx. Roll Weight |
36kg per roll |
| Backing Type |
Non-adhesive |
| Published Acoustic Performance |
Supplier data lists acoustic performance around 26dB; final result depends on the full system and test conditions |
| Main Noise Type |
Airborne noise |
| Composition Note |
Free from lead, unrefined aromatic oils and bitumen according to supplier data |
| Installation Method |
Installed with suitable separate adhesive, mechanical support, or sandwiched between board layers depending on system design |
| Cutting Method |
Sharp utility knife or suitable cutting tool |
| Fire Rating |
Not confirmed in reviewed supplier data — confirm before compliance-led use |
| Standalone Product? |
No — should be used as part of a complete acoustic wall, floor or ceiling system |
Suitable Applications
MLV50 Non-Adhesive Acoustic Membrane can be used in a range of acoustic applications, including:
- Party wall soundproofing
- Stud wall acoustic upgrades
- Solid wall lining systems
- Ceiling soundproofing systems
- Floor soundproofing systems
- Plasterboard and acoustic board upgrades
- Home offices, studios and media rooms
- Flats and apartment refurbishments
- Commercial offices and meeting rooms
- Projects requiring a slim acoustic mass layer
Acoustic Use
MLV50 is used to improve acoustic performance by adding mass to the soundproofing build-up. It is mainly used to reduce airborne sound transmission through walls, floors and ceilings.
It is commonly installed with suitable boards or surfaces and then covered with additional board layers or finishing materials. In many systems, it is used between two rigid layers to increase mass and improve the overall acoustic performance.
Common System Uses
- Used between layers of plasterboard
- Used behind acoustic plasterboard
- Used behind acoustic boards as part of a wall build-up
- Used in ceiling systems with resilient bars or furring channels
- Used in floor systems with acoustic boards or floating floor layers
- Combined with acoustic mineral wool inside wall, floor or ceiling cavities
- Combined with acoustic sealant around edges, joints and penetrations
- Used where space is limited but extra acoustic mass is required
Important Performance Note
MLV50 is an acoustic membrane, not a complete soundproofing system on its own. The final performance depends on the full wall, floor or ceiling build-up.
Existing structure, supporting board layers, cavity treatment, fixing method, sealing detail, installation quality and flanking noise paths can all affect the final result.
Published acoustic figures should be treated as product or test-condition dependent. For compliance-led projects, use the correct tested system data and seek project-specific acoustic advice where required.
Handling Advice
MLV50 rolls are heavy and should be handled carefully. Store the roll dry, protected and away from sharp objects before installation.
Before fitting, make sure the membrane and substrate are clean, dry and free from dust, grease and loose material. Cut carefully around edges, sockets, services and obstructions.
Because this is the non-adhesive version, plan how the membrane will be held in place before starting. It may require separate adhesive, temporary fixing, or installation between board layers depending on the application.
How to Install MLV50 Non-Adhesive Acoustic Membrane
MLV50 Non-Adhesive Acoustic Membrane is installed as a dense acoustic mass layer within wall, floor and ceiling soundproofing systems. Because it does not have a self-adhesive backing, it must be installed using a suitable separate adhesive, mechanical support, temporary fixing or by sandwiching it between board layers depending on the system design.
For the best result, the surface should be clean, dry, stable and free from dust, grease and loose material before the membrane is fitted.
What You’ll Need
- MLV50 Non-Adhesive Acoustic Membrane
- Suitable contact adhesive or compatible acoustic membrane adhesive, where bonding is required
- Acoustic sealant
- Acoustic jointing tape, where required
- Tape measure
- Pencil or marker
- Straight edge
- Sharp utility knife
- Roller or flat board for applying pressure, where bonding
- Clean cloth or brush for dust removal
- Plasterboard, acoustic board or other finishing board layer
- Temporary fixings, where required
- PPE gloves
- Safety glasses
- Knee pads for floor installations
- Waste bag for offcuts
Before You Start
Check the installation surface before fitting MLV50. The surface should be clean, dry, flat, stable and suitable for the chosen installation method.
Remove dust, grease, loose paint, loose plaster, wallpaper residue and other unstable materials. If the membrane is being bonded, check that the adhesive is compatible with both the membrane and the surface.
Plan the full acoustic build-up before starting. MLV50 is most effective when used with suitable supporting materials such as plasterboard, acoustic boards, acoustic mineral wool, resilient bars, furring channels and acoustic sealant.
Step 1: Prepare the Surface
Make sure the surface is ready for the membrane. The surface should be:
- Clean
- Dry
- Flat
- Stable
- Free from dust and grease
- Free from loose paint, plaster or paper
- Suitable for the chosen fixing method
Do not install MLV50 onto damp, dusty, greasy or unstable surfaces. Poor preparation can affect the quality of the installation and reduce the performance of the system.
Step 2: Seal Gaps and Weak Points
Before applying the membrane, seal obvious sound leakage paths. Pay close attention to:
- Perimeter gaps
- Cracks in walls or floors
- Gaps between floorboards
- Pipe penetrations
- Socket openings
- Service voids
- Ceiling and floor junctions
- Corners and awkward details
Use acoustic sealant where suitable. Sound can travel through small gaps, so sealing is an important part of the soundproofing system.
Step 3: Measure and Plan the Layout
Measure the installation area and plan the membrane layout before cutting. MLV50 is supplied in a 1.2m x 6m roll and covers 7.2m².
Plan the layout so the membrane covers the area evenly, with tight joints and minimal waste. Avoid unnecessary small offcuts where possible.
For board applications, it may be easier to pre-cut the membrane while the board is flat, then bond or sandwich the membrane as part of the board build-up.
Step 4: Cut the Membrane to Size
Roll out the membrane and mark the required size. Use a sharp utility knife and straight edge to cut the membrane neatly.
Cut carefully around:
- Board edges
- Corners
- Socket openings
- Pipes
- Service penetrations
- Doorways
- Thresholds
- Other obstructions
Keep cuts neat and avoid leaving unnecessary gaps, as open gaps can reduce the acoustic performance of the system.
Step 5: Choose the Installation Method
MLV50 Non-Adhesive Acoustic Membrane can be installed in different ways depending on the system.
Common methods include:
- Bonding the membrane with a suitable separate adhesive
- Sandwiching the membrane between plasterboard or acoustic board layers
- Temporarily fixing the membrane while the next layer is installed
- Laying the membrane as part of a floor build-up beneath suitable boards or overlays
Choose the method that suits the wall, floor or ceiling system and the final finish.
Step 6: Apply Adhesive Where Required
If bonding the membrane, apply a suitable adhesive to the prepared surface or board according to the adhesive manufacturer’s instructions.
Work in manageable sections. Make sure there is enough adhesive coverage to hold the membrane securely, but avoid excessive adhesive that could create lumps or uneven areas.
Press the membrane firmly into place using a roller, flat board or firm hand pressure. Work from one side to the other to reduce air pockets and ensure good contact.
Step 7: Butt Joints Tightly
Install adjacent pieces of MLV50 with tight butt joints. Do not leave gaps between sheets or strips.
Where required, seal or tape the joints using suitable acoustic tape or sealant. The aim is to create a continuous acoustic mass layer with no obvious weak points.
Do not overlap the membrane unless the specific system design allows for it, as overlaps can create uneven board layers and fitting issues.
Step 8: Seal Edges and Penetrations
Once the membrane is installed, check all perimeter edges, joints and cut-outs.
Use acoustic sealant around:
- Perimeter edges
- Small gaps between membrane sections
- Socket cut-outs
- Pipe penetrations
- Service openings
- Corners and junctions
Good sealing is important because even small gaps can allow sound to bypass the acoustic membrane.
Step 9: Install the Next Acoustic Layer
Once the MLV50 is in position and sealed, install the next layer of the soundproofing system.
Depending on the project, this may include:
- Acoustic plasterboard
- Standard plasterboard
- DBx PRO acoustic board
- SBx acoustic board
- Timber sheet material
- Floating floor layers
- Resilient bars or furring channels
- Additional acoustic membrane layers, where specified
Follow the system design and make sure the final build-up is properly fixed, supported and sealed.
Installing MLV50 on Walls
For wall applications, MLV50 can be installed behind plasterboard, acoustic board or timber sheet material.
It is commonly used as part of a party wall or stud wall soundproofing system. For improved performance, it may be combined with acoustic mineral wool in the cavity and resilient bars or furring channels where decoupling is required.
Installing MLV50 on Ceilings
For ceiling applications, it is often easier to apply or position MLV50 to plasterboard or acoustic board while the board is flat, then lift and fix the board into position.
Ceiling systems must be designed to carry the total weight of the boards, membrane and fixings. Check the structure and fixing method before installation.
For improved performance, MLV50 is commonly used with acoustic mineral wool in the ceiling void, resilient bars or furring channels, acoustic plasterboard and acoustic sealant.
Installing MLV50 on Floors
For floor applications, MLV50 can be used as part of a wider acoustic floor build-up where additional mass is required.
It may be installed with acoustic boards, floating floor layers, acoustic underlays or timber sheet materials depending on the system. The floor should be clean, dry, stable and free from protruding fixings before the membrane is fitted.
Impact noise normally requires resilient layers as well as mass, so MLV50 should not be treated as a complete impact noise solution by itself.
Installation Tips
- Plan the layout before cutting the membrane.
- Make sure surfaces are clean, dry and dust-free before bonding.
- Use a compatible adhesive where bonding is required.
- Cut the membrane neatly with a sharp utility knife.
- Keep membrane joints tightly butted.
- Seal gaps, joints and perimeter edges with acoustic sealant.
- Use acoustic tape where required by the system.
- Avoid open gaps around sockets, pipes and services.
- Do not rely on mechanical fixings alone if the system requires continuous support.
- Use MLV50 as part of a complete acoustic system, not as a standalone solution.
Important Soundproofing Note
MLV50 Non-Adhesive Acoustic Membrane helps improve sound insulation by adding mass to walls, floors and ceilings, but the final performance depends on the complete acoustic build-up.
Existing structure, board layers, cavity insulation, resilient isolation, fixing method, perimeter sealing and flanking noise paths can all affect the final result.
If you are unsure how to use MLV50 in your project, please contact our team before installation. We can help advise on the most suitable soundproofing system based on your room, structure, noise issue and available build-up depth.