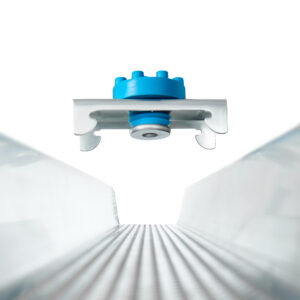
RClip Resilient Sound Isolation Clips
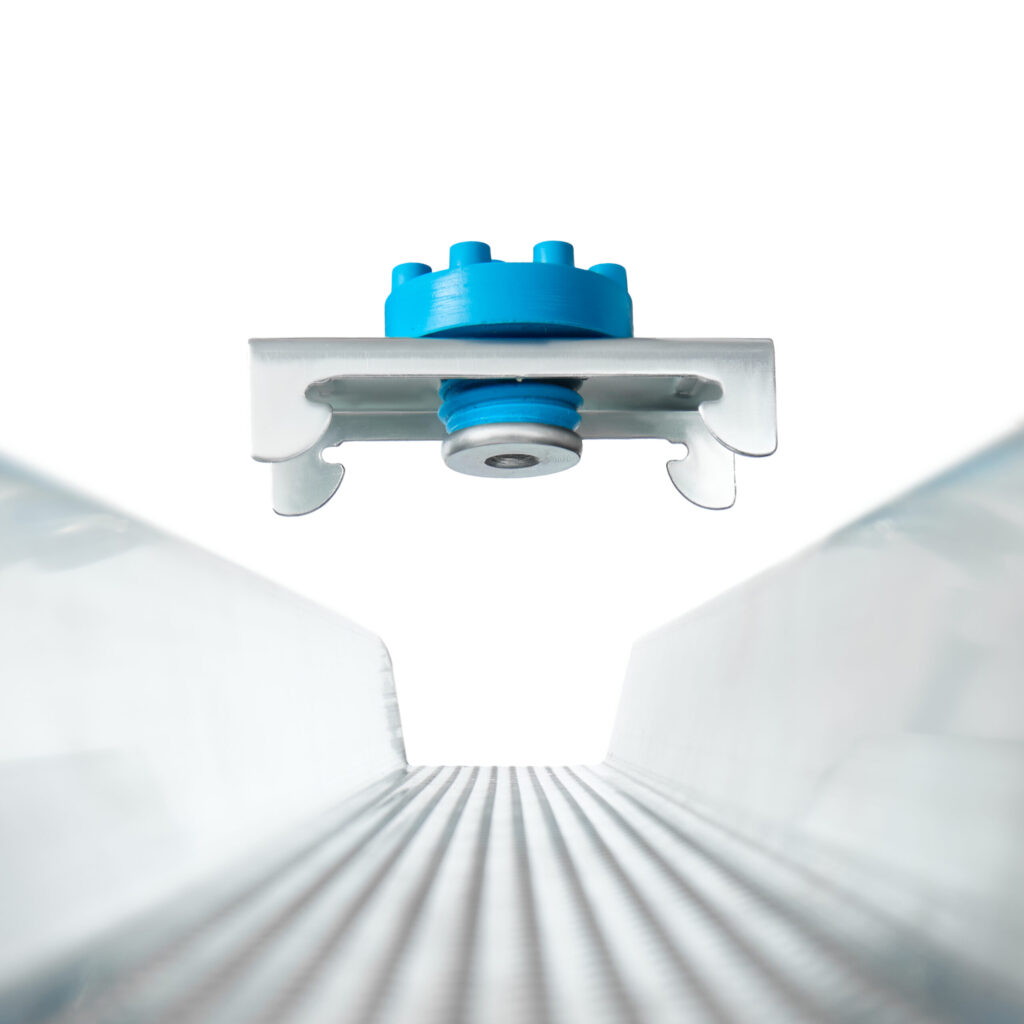
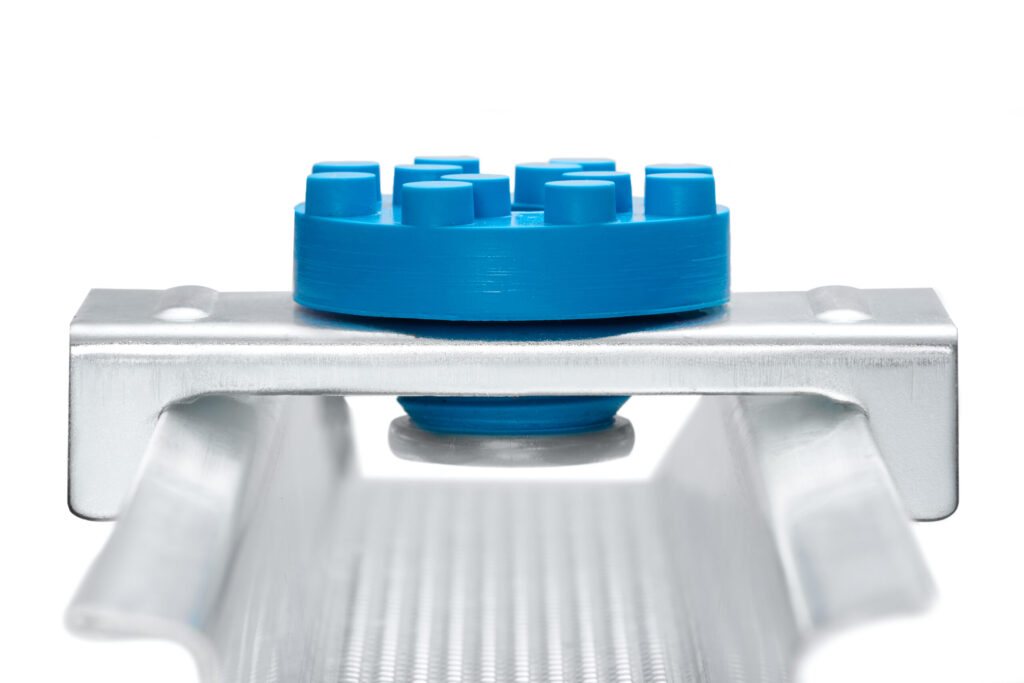
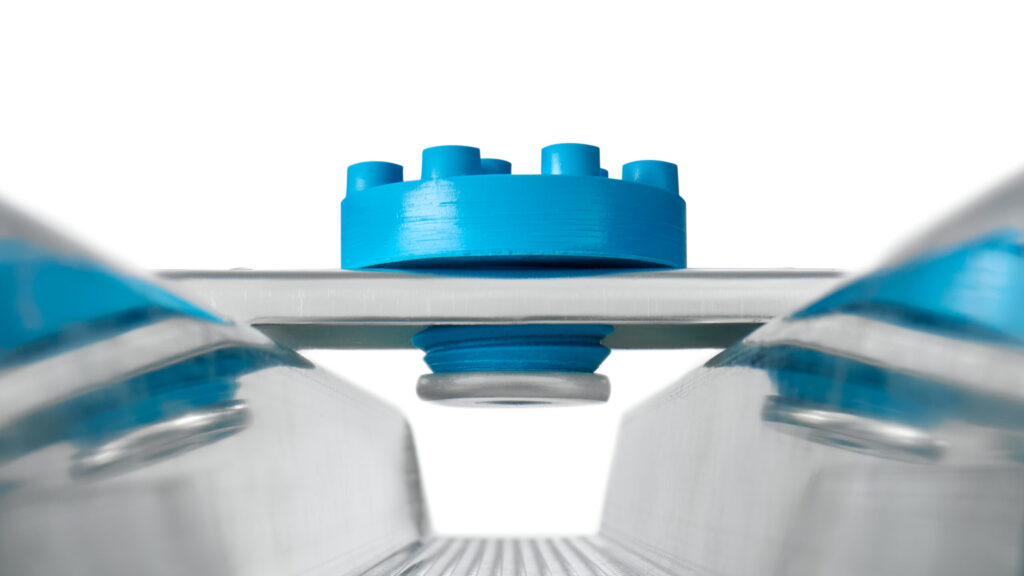
RClip Resilient Sound Isolation Clips are acoustic isolation clips designed to help decouple plasterboard or acoustic board layers from walls and ceilings. When used with compatible furring channel, they help reduce vibration transfer through the structure and improve the performance of a soundproofing system.
Resilient clips are commonly used in wall and ceiling soundproofing projects where airborne noise, impact noise and vibration transfer need to be reduced. They are suitable for domestic, commercial and trade installations, including flats, home offices, studios, media rooms, bedrooms, offices and shared spaces.
What are resilient clips used for?
Resilient clips are used to create a separation between the existing structure and the new plasterboard or acoustic board layer. This separation helps reduce direct vibration transfer through walls and ceilings.
They are typically fixed to timber studs, metal studs, masonry walls, timber joists or ceiling structures. A compatible furring channel is then clipped into place, and the plasterboard or acoustic board is fixed to the channel rather than directly to the structure.
How do RClip resilient clips work?
RClip resilient clips work by helping to decouple the finished wall or ceiling lining from the main structure. This reduces the direct path that sound vibration can travel through.
In a standard wall or ceiling, sound can pass through the structure by vibration. By adding resilient clips and furring channel, the board layer is isolated from the original structure, helping to reduce sound transfer and improve acoustic performance.
What type of noise do resilient clips help reduce?
Resilient clips can help reduce airborne noise, including voices, TV noise, music and general room-to-room noise transfer. They are often used in party wall and ceiling soundproofing systems where noise from neighbouring rooms or properties is a problem.
They can also help reduce impact noise and vibration transfer when used in the correct ceiling or wall system. This can include footsteps from above, movement noise and structure-borne vibration, although the final performance depends on the complete build-up.
Where can RClip resilient clips be used?
RClip resilient sound isolation clips are suitable for a range of wall and ceiling soundproofing applications, including:
- Party wall soundproofing
- Ceiling soundproofing systems
- Noise from above
- Home offices and bedrooms
- Stud wall upgrades
- Media rooms and home cinemas
- Studios and music rooms
- Flats, apartments and shared buildings
- Commercial offices, meeting rooms and workspaces
Why use resilient clips instead of fixing boards directly?
Fixing plasterboard directly to a wall or ceiling gives sound vibration a more direct route through the structure. Resilient clips help reduce this direct connection by creating an isolated fixing point for the furring channel and board layer.
This makes them a useful part of higher-performance soundproofing systems, especially when combined with acoustic plasterboard, Tecsound acoustic membrane, acoustic mineral wool and acoustic sealant.
Key benefits
- Helps decouple walls and ceilings — reduces direct vibration transfer through the structure.
- Improves acoustic system performance — useful as part of a complete soundproofing build-up.
- Suitable for walls and ceilings — commonly used for party walls, ceilings and stud wall upgrades.
- Helps reduce airborne noise — useful for voices, TV noise, music and general sound transfer.
- Helps with impact noise — supports ceiling systems designed to reduce noise from above.
- Works with furring channel — designed to be used with compatible acoustic channel systems.
- Suitable for DIY and trade — useful for home soundproofing and professional installations.
- Part of a complete acoustic system — can be combined with insulation, boards, membranes and sealants.
What products are resilient clips used with?
For best results, resilient clips are normally used as part of a full acoustic wall or ceiling system. Common companion products include:
- RClip furring channel or compatible acoustic furring channel
- Acoustic plasterboard
- Standard plasterboard layers
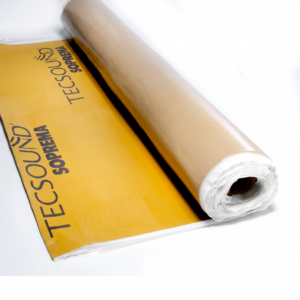
- Tecsound acoustic membrane
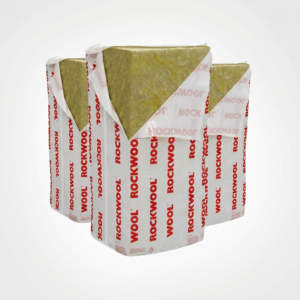
- ROCKWOOL acoustic mineral wool
- Acoustic sealant
- Acoustic fixings and suitable screws
Helpful advice before buying
RClip resilient clips are not usually used on their own. They are designed to form part of a complete soundproofing system, and the final result depends on the full wall or ceiling build-up.
For best performance, the board layer should be isolated correctly, the correct spacing should be followed, gaps should be sealed with acoustic sealant, and the system should avoid rigid connections that can create sound bridges.
If you are unsure whether resilient clips are suitable for your wall or ceiling project, please contact our team before ordering. We can help advise on the correct system based on your noise issue, room type and existing construction.
RClip Resilient Sound Isolation Clip Technical Specifications
RClip Resilient Sound Isolation Clips are acoustic decoupling clips designed for use in wall and ceiling soundproofing systems. When used with compatible furring channel, they help isolate the plasterboard or acoustic board layer from the main structure, reducing vibration transfer and improving the performance of the complete acoustic build-up.
Product Specification
| Product Name |
RClip Resilient Sound Isolation Clip |
| Also Known As |
Resilient clip, acoustic isolation clip, sound isolation clip, decoupling clip |
| Product Type |
Resilient acoustic isolation clip |
| Application |
Walls and ceilings |
| Primary Use |
Decoupling plasterboard or acoustic board from the existing wall or ceiling structure |
| Compatible System |
Designed for use with compatible acoustic furring channel / hat channel systems |
| Board Compatibility |
Suitable for use with standard plasterboard, acoustic plasterboard and multi-layer acoustic board systems when installed to the correct specification |
| Typical Substrates |
Timber studs, metal studs, masonry walls, timber joists, concrete soffits and suitable ceiling structures |
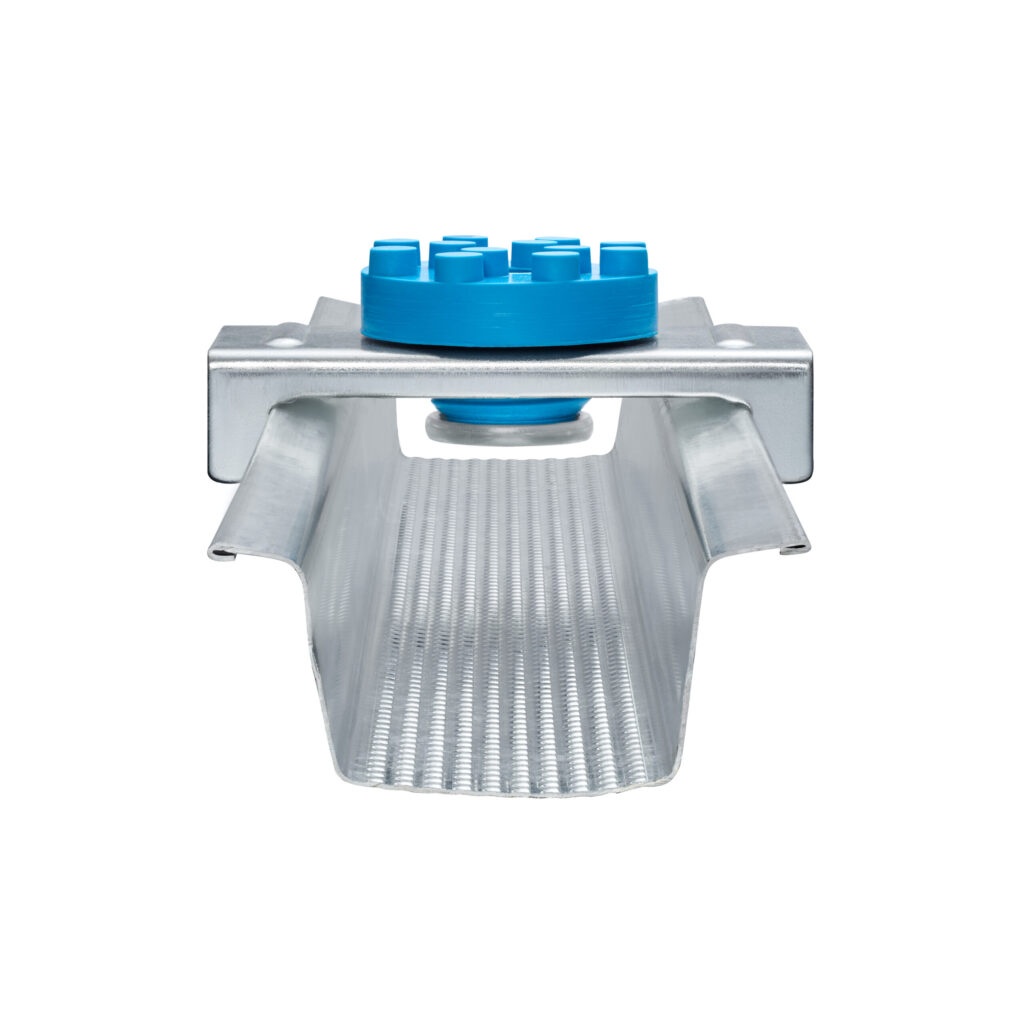
| Material |
Resilient rubber or elastomer isolation element with metal clip/body. Exact material should be confirmed against supplier data. |
| Installation Method |
Mechanically fixed to the wall or ceiling structure, with compatible furring channel clipped into place. Boards should be fixed to the furring channel, not directly into the structure. |
| Clip Spacing |
Follow the project specification and manufacturer guidance. Typical resilient clip systems use set rows and centres depending on board weight, wall/ceiling type and number of plasterboard layers. |
| Load Rating |
Manufacturer dependent. Confirm the acoustic design load and maximum board weight before installation. |
| Fire Rating |
System dependent. Fire performance depends on the full wall or ceiling build-up, board specification, fixings and installation method. |
| Pack Size |
Confirm supplier pack quantity |
Suitable Applications
RClip resilient clips are designed for acoustic wall and ceiling systems where decoupling is required. They are commonly used in:
- Party wall soundproofing systems
- Ceiling soundproofing systems
- Noise from above treatments
- Stud wall acoustic upgrades
- Media rooms and home cinemas
- Studios and music rooms
- Bedrooms, flats and apartments
- Offices, meeting rooms and commercial spaces
Acoustic Use
RClip resilient clips are used to help reduce sound transfer by separating the plasterboard or acoustic board layer from the main structure. This helps reduce the direct vibration path that sound can travel through.
They are mainly used to help with airborne noise, such as voices, TV noise, music and general room-to-room sound transfer. When used in the correct ceiling build-up, they can also help reduce impact noise and structure-borne vibration from above.
Common System Uses
- Fixed to timber or metal studs with furring channel installed horizontally
- Fixed to ceiling joists with furring channel installed below
- Used with acoustic plasterboard layers
- Used with Tecsound acoustic membrane where specified
- Used with ROCKWOOL acoustic mineral wool inside the cavity
- Used with acoustic sealant around perimeter gaps and service penetrations
Important Compatibility Note
RClip resilient clips should be used with a compatible furring channel system. Standard resilient bar is not always interchangeable with resilient isolation clips, so the correct channel should be selected for the clip system being installed.
Boards should be fixed into the furring channel only. Fixing plasterboard through the channel and into the wall or ceiling structure can create a rigid connection, also known as a sound bridge, which can reduce acoustic performance.
Performance Note
RClip resilient clips are not a complete soundproofing system on their own. They perform best as part of a full wall or ceiling build-up, normally including acoustic mineral wool, furring channel, acoustic plasterboard, acoustic membrane where required, and acoustic sealant around all weak points.
The final soundproofing result will depend on the existing structure, clip spacing, board layers, furring channel compatibility, installation quality and how well gaps and flanking paths are controlled.
Handling and Installation Advice
Before installation, check that the correct fixings are being used for the substrate, whether timber, metal, masonry or concrete. Clips should be securely fixed but not over-tightened in a way that compromises the resilient isolation element.
If you are unsure how many RClip resilient clips are required for your wall or ceiling, please contact our team before ordering. We can help advise on the most suitable system based on your room size, noise issue, board specification and existing construction.
How to Install RClip Resilient Sound Isolation Clips
RClip Resilient Sound Isolation Clips are used to decouple plasterboard or acoustic board layers from walls and ceilings. When installed with compatible furring channel, they help reduce vibration transfer through the structure and improve the performance of a complete soundproofing system.
Correct installation is important. The clips, channel, board layers and perimeter sealing all need to work together. Avoid fixing boards directly back into the existing wall or ceiling structure, as this can create a sound bridge and reduce acoustic performance.
What You’ll Need
- RClip resilient sound isolation clips
- Compatible acoustic furring channel / hat channel
- Suitable fixings for your substrate
- Drill or impact driver
- Measuring tape
- Pencil or marker
- Spirit level or laser level
- Acoustic plasterboard or standard plasterboard
- Acoustic mineral wool, if filling the cavity
- Acoustic sealant
- Appropriate plasterboard screws
- PPE, including gloves and safety glasses
Before You Start
Check the wall or ceiling construction before installation. RClip resilient clips can be used with suitable timber studs, metal studs, masonry walls, timber joists, concrete soffits and ceiling structures, but the correct fixing type must be used for the substrate.
You should also check the total board weight, number of board layers and clip spacing required for your system. Clip spacing and fixing centres can vary depending on the wall or ceiling type, the furring channel used and the weight of the plasterboard layers.
Step 1: Prepare the Wall or Ceiling
Before installing the clips, make sure the surface or frame is ready. The area should be:
- Clean — remove loose dust, debris and old fixings where needed.
- Dry — avoid installing onto damp or unstable surfaces.
- Structurally sound — fix clips only to secure studs, joists, masonry or concrete.
- Clear of obstructions — check for cables, pipes and services before drilling.
Mark the positions of studs, joists or fixing points before starting. This helps keep the clip layout accurate and avoids unnecessary fixing holes.
Step 2: Mark the Clip Layout
Use a tape measure and level to mark the clip positions across the wall or ceiling. The clips should be installed in straight rows so the furring channel can sit level and secure.
Follow the correct spacing for your system. As a general rule, resilient clip layouts use regular centres across the wall or ceiling, but the final spacing should always be based on the project specification, board weight and manufacturer guidance.
Step 3: Fix the RClip Resilient Clips
- Position the first clip on the marked fixing point.
- Use the correct fixing for the substrate.
- Secure the clip firmly into the wall, stud, joist or ceiling structure.
- Continue fixing the remaining clips according to the marked layout.
Do not over-tighten fixings in a way that crushes or restricts the resilient isolation element. The clip needs to be secure, but the isolation component must still be able to perform correctly.
Step 4: Install the Furring Channel
Once the clips are fixed in place, install the compatible furring channel into the resilient clips. The channel should sit securely inside the clip and run straight across the wall or ceiling.
- Clip the furring channel into the first row of RClips.
- Check that the channel is properly seated.
- Continue installing channel across the full area.
- Use a level to keep rows straight and even.
Make sure you are using the correct channel for the clip system. Standard resilient bar and clip-compatible furring channel are not always interchangeable.
Step 5: Add Acoustic Mineral Wool, If Required
If the system includes acoustic mineral wool, fit it into the cavity before boarding. The insulation should sit neatly in the void without being heavily compressed.
Acoustic mineral wool helps absorb sound within the cavity, while the resilient clips and channel help reduce vibration transfer through the structure. Together, they create a stronger acoustic build-up.
Step 6: Fix the Plasterboard or Acoustic Board
Fix the plasterboard or acoustic board to the furring channel only. Do not screw through the board, through the channel and into the original wall or ceiling structure.
- Offer the first board into position.
- Fix the board into the furring channel using suitable plasterboard screws.
- Keep board edges neat and supported.
- Continue fitting the remaining boards across the system.
- If using multiple board layers, stagger the joints between layers where possible.
This step is critical. If the boards are fixed back into the original structure, it can bypass the resilient clip system and create a sound bridge.
Step 7: Seal the Perimeter and Joints
Once the board layer is installed, seal the perimeter edges with acoustic sealant. This includes gaps around walls, ceilings, floors, corners and service penetrations.
Small gaps can reduce soundproofing performance, so take time to seal weak points carefully. Around sockets, switches and service openings, use suitable acoustic detailing such as acoustic putty pads where required.
Step 8: Finish the Wall or Ceiling
After the acoustic layers are installed and sealed, the surface can be finished according to the project requirements. This may include jointing, plastering, decorating or adding the final finish.
Take care not to add rigid fixings through the finished surface into the original structure, as this can reduce the benefit of the resilient clip system.
Installing RClips on Walls
For wall soundproofing, RClips are usually fixed to the existing wall structure, timber studs or metal studs. The furring channel is then installed horizontally across the clips, and the plasterboard or acoustic board is fixed to the channel.
This method is commonly used for party walls, stud wall upgrades, bedrooms, home offices, media rooms and shared walls where airborne noise is a problem.
Installing RClips on Ceilings
For ceiling soundproofing, RClips are usually fixed to timber joists or a suitable ceiling structure. The furring channel is then installed across the clips, and the plasterboard or acoustic board is fixed to the channel below.
This method is commonly used to reduce noise from above, including voices, TV noise, footsteps and general impact vibration when used as part of a complete ceiling soundproofing system.
Installation Tips
- Use compatible channel — make sure the furring channel matches the clip system.
- Follow the correct spacing — clip centres should match the board weight and system design.
- Use the right fixings — timber, masonry, metal and concrete all require suitable fixings.
- Avoid sound bridges — do not screw plasterboard directly into the original structure.
- Seal all perimeter gaps — acoustic sealant helps reduce sound leakage around edges.
- Stagger board joints — especially when using multiple plasterboard layers.
- Combine with insulation — acoustic mineral wool can improve the system by absorbing sound inside the cavity.
Important Soundproofing Note
RClip resilient clips are not a complete soundproofing system on their own. They are designed to work as part of a full wall or ceiling build-up, usually including acoustic mineral wool, furring channel, plasterboard or acoustic board layers, acoustic membrane where required, and acoustic sealant.
The final acoustic performance will depend on the existing structure, clip spacing, board layers, channel compatibility, fixing method and how well gaps and flanking paths are controlled.
If you are unsure how many RClip resilient clips you need, or whether this system is suitable for your wall or ceiling, please contact our team before ordering. We can help advise on the correct approach based on your room, noise issue and existing construction.