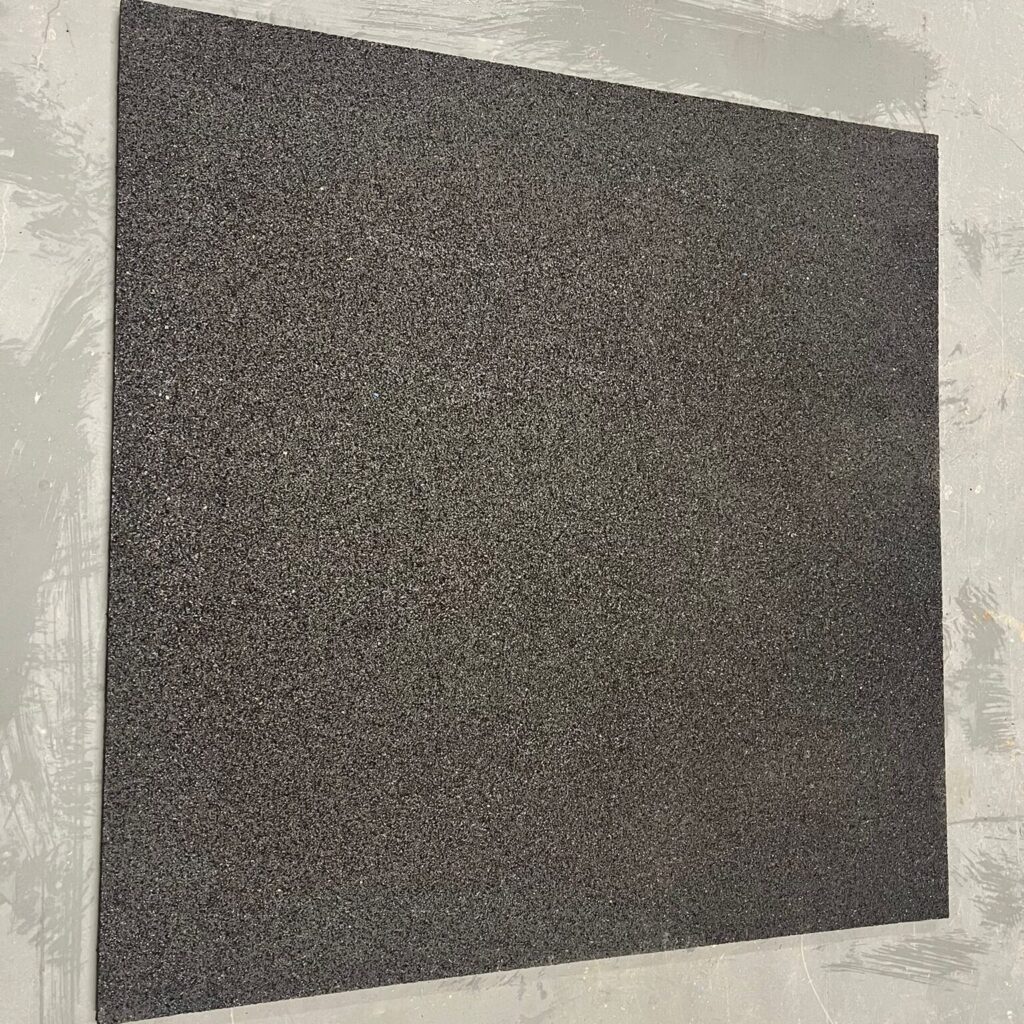
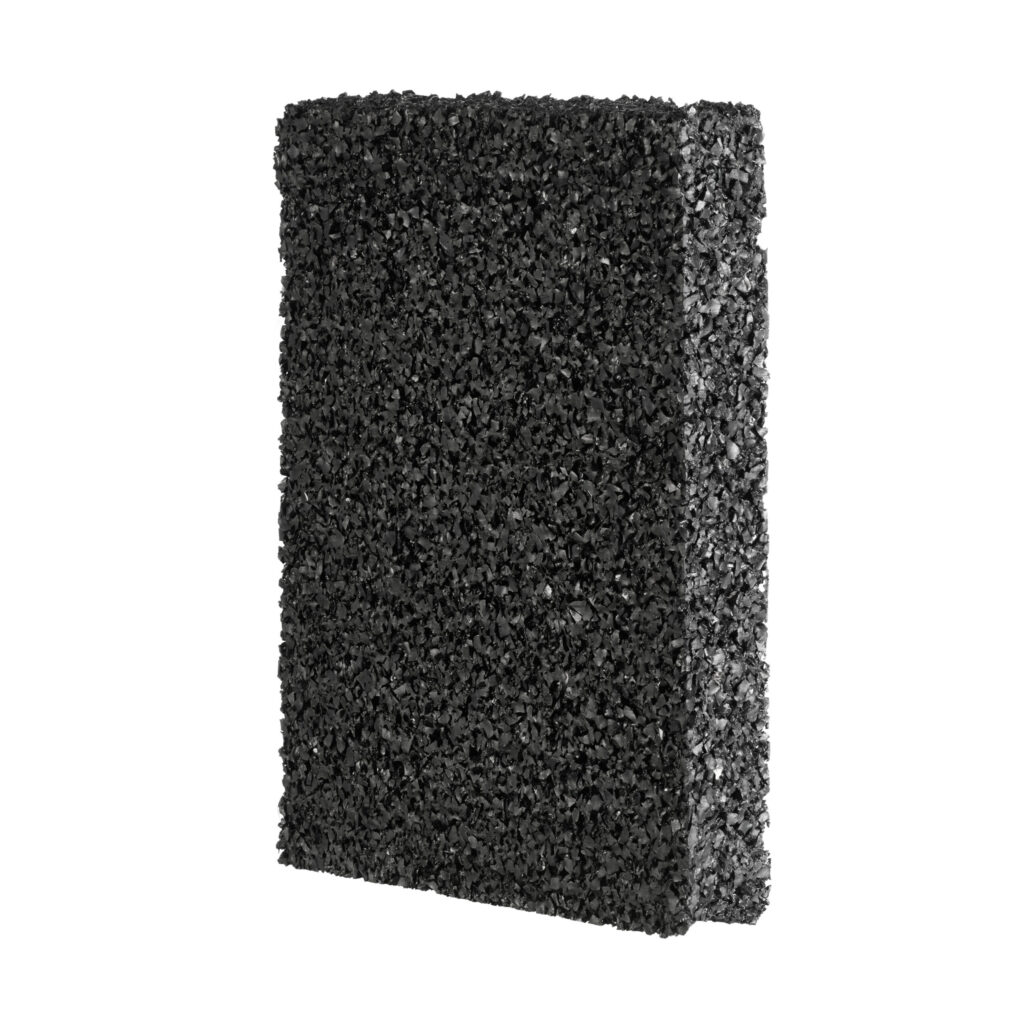
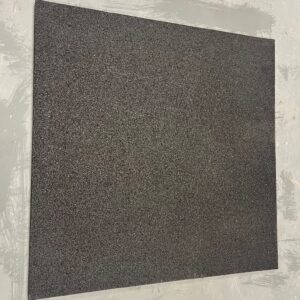
SM20 Rubber Panel 20mm
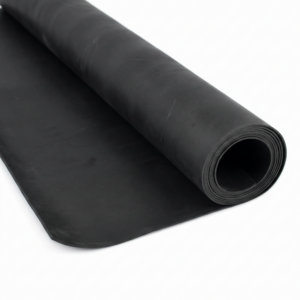
SM20 Rubber Panel 20mm is a dense recycled rubber acoustic panel designed to improve the soundproofing performance of internal wall systems. Measuring 1000mm x 1000mm x 20mm, each panel covers 1.0m² and adds mass to the wall structure while helping reduce airborne noise transfer.
This slim acoustic rubber panel is commonly used for party wall soundproofing, stud wall upgrades and masonry wall applications where space is limited but improved sound insulation is required. It is suitable for domestic, residential and refurbishment projects, including bedrooms, living rooms, home offices, flats, apartments and shared walls between neighbouring properties.
What is SM20 Rubber Panel used for?
SM20 Rubber Panel is used as part of a wall soundproofing system to help reduce airborne noise travelling through an existing wall. It is commonly installed directly onto suitable masonry, brick, blockwork or plasterboard surfaces using high-contact adhesive.
Once fitted, the rubber panel is normally covered with acoustic plasterboard, dB board, SBx board or another suitable acoustic lining layer. This creates a denser wall build-up that helps reduce sound transfer from voices, TV noise, music and general neighbour noise.
How does SM20 Rubber Panel work?
SM20 works by adding a dense rubber barrier to the wall. The extra mass helps resist airborne sound transmission, while the rubber material can also help damp vibration within the wall build-up.
The panel is not normally used as a visible finished surface. It performs best when installed behind acoustic boards or plasterboard as part of a complete soundproofing system. For best results, all gaps, cracks, edges, joints and service penetrations should also be sealed with acoustic sealant.
What type of noise does SM20 help reduce?
SM20 Rubber Panel is mainly used to help reduce airborne noise. This includes voices, TV noise, music, general neighbour noise, room-to-room noise transfer and noise through party walls.
It is not usually the complete solution for impact noise, such as footsteps or heavy vibration through floors. Impact noise normally requires additional isolation, resilient layers, acoustic underlays or floating floor systems.
Where can SM20 Rubber Panel be used?
SM20 Rubber Panel is suitable for a range of wall soundproofing applications, including:
- Party wall soundproofing
- Bedroom walls
- Living room walls
- Home offices
- Flats and apartments
- Shared walls between properties
- Stud wall upgrades
- Brick and block walls
- Breezeblock walls
- Media rooms and domestic music rooms
Why choose SM20 Rubber Panel?
SM20 is a practical option for wall soundproofing where a slim, high-mass acoustic layer is required. At just 20mm thick, it can be added to an existing wall before finishing with acoustic board or plasterboard.
The panel is easy to cut and fit, making it suitable for both DIY users and trade installers. It can be trimmed around corners, sockets, edges and other awkward areas, provided the installation is properly sealed and finished.
Key benefits
- Slim 20mm acoustic rubber panel — useful where space is limited.
- Dense recycled rubber construction — adds mass to the wall build-up.
- Helps reduce airborne noise — suitable for voices, TV noise, music and general neighbour noise.
- 1.0m² coverage per panel — simple to calculate for wall areas.
- Suitable for party walls — commonly used in residential soundproofing systems.
- Can be used on masonry or stud walls — suitable for a range of wall types.
- DIY-friendly installation — can be bonded using high-contact adhesive.
- Works within complete systems — commonly combined with acoustic plasterboard, dB board, SBx board and acoustic sealant.
- Easy to cut — can be trimmed to suit edges, corners and fittings.
- Space-saving solution — helps improve wall performance without a deep independent frame.
Helpful advice before buying
SM20 Rubber Panel should be used as part of a complete acoustic wall system. The final soundproofing result will depend on the existing wall construction, the finishing board layers, installation quality, sealing detail and any flanking paths around the wall.
For best results, the wall should be dry, clean, flat and stable before installation. Any cracks, holes, gaps around joists, socket penetrations or edge junctions should be sealed before the panels are fitted.
If you are unsure whether SM20 is suitable for your wall, please contact our team before ordering. We can help advise on the correct soundproofing system based on your wall type, room size, noise issue and available depth.
SM20 Rubber Panel 20mm Technical Specifications
SM20 Rubber Panel 20mm is a dense recycled rubber acoustic panel used within slim wall soundproofing systems. It is designed to add mass to an existing wall build-up and help reduce airborne noise transfer when combined with suitable acoustic boards, plasterboard and acoustic sealant.
Product Specification
| Product Name |
SM20 Rubber Panel 20mm |
| Product Type |
Acoustic rubber soundproofing panel |
| Material |
Recycled rubber / dense acoustic rubber |
| Application |
Wall soundproofing systems |
| Suitable For |
Party walls, stud walls, masonry walls, brick walls, block walls and domestic acoustic upgrades |
| Panel Size |
1000mm x 1000mm |
| Thickness |
20mm |
| Coverage |
1.0m² per panel |
| Pack Size |
1 panel |
| Approx. Weight |
15kg per panel |
| Fire Rating |
EN 13501-1 Class E |
| Installation Method |
Bonded to the wall using suitable high-contact adhesive |
| Finish Required |
Usually covered with acoustic plasterboard, dB board, SBx board or another suitable acoustic lining layer |
| Main Noise Type |
Airborne noise |
| Standalone Product? |
No — should be used as part of a complete acoustic wall system |
Suitable Applications
SM20 Rubber Panel can be used in a range of residential and light commercial wall soundproofing projects, including:
- Party wall soundproofing
- Bedroom wall soundproofing
- Living room wall soundproofing
- Home office soundproofing
- Stud wall upgrades
- Brick and block wall upgrades
- Flat and apartment refurbishments
- Media rooms and music practice rooms
- General domestic noise reduction projects
Acoustic Use
SM20 is used to increase the mass and acoustic resistance of an existing wall system. It helps reduce airborne sound transfer when installed correctly and combined with appropriate finishing layers.
It is commonly used behind acoustic plasterboard or acoustic boards to form a denser wall build-up. This can help reduce noise such as voices, television, music and general neighbour noise.
Common System Uses
- Bonded directly to suitable existing walls
- Used behind acoustic plasterboard
- Used with dB board or SBx board upgrades
- Used with acoustic sealant around edges and joints
- Used as part of party wall soundproofing systems
- Used where limited room depth is available
- Used with additional ceiling or floor treatments where flanking noise is present
Important Performance Note
SM20 Rubber Panel is not a complete soundproofing system on its own. It should be used as part of a full acoustic wall build-up.
The final result will depend on the existing wall construction, supporting board layers, adhesive bond, sealing quality, sockets, joist junctions, ceiling/floor paths and other flanking routes.
For best results, all gaps, cracks, edges and penetrations should be sealed with acoustic sealant or suitable repair material before the final finish is installed.
Handling Advice
SM20 panels are dense and should be handled carefully. Store the panels flat, dry and protected before installation. Before fitting, check that the panels are clean, dry and free from loose surface material.
Panels can be cut with a sharp utility knife or suitable cutting tool. Make all cuts before applying adhesive, especially around sockets, corners and service penetrations.
How to Install SM20 Rubber Panel 20mm
SM20 Rubber Panel 20mm is installed directly onto a suitable wall surface as part of an acoustic wall lining system. The panel is usually bonded to the wall with high-contact adhesive, then covered with acoustic plasterboard, dB board, SBx board or another suitable finishing layer.
For the best result, the wall should be flat, dry, clean, stable and properly sealed before the rubber panels are fitted.
What You’ll Need
- SM20 Rubber Panels
- Suitable SM20 / high-contact adhesive
- Acoustic sealant
- Tape measure
- Straight edge
- Sharp utility knife
- Pencil or marker
- Roller or board for applying pressure
- PPE gloves
- Safety glasses
- Dust mask or suitable mask when using spray adhesive
- Ventilation while using adhesive
- Acoustic plasterboard, dB board or SBx board for the finishing layer
- Plasterboard tools and fixings as required
Before You Start
Check the wall carefully before installation. The surface should be smooth, dry, dust-free and free from loose wallpaper, flaking paint, grease or unstable plaster.
Remove skirting boards, dado rails and other wall-mounted items before fitting. Electrical fittings, sockets and switches may need to be adjusted or extended to suit the new wall depth. Any electrical work should be carried out by a competent person, and power should be isolated before working around electrical fittings.
Inspect the wall for holes, cracks and weak points. Larger holes should be repaired with suitable mortar or filler, while smaller gaps and cracks should be sealed with acoustic sealant.
Step 1: Prepare the Wall
Make sure the wall is ready for the SM20 panels. The wall should be:
- Clean
- Dry
- Flat
- Stable
- Free from dust and grease
- Free from loose paint, paper or damaged plaster
If the surface is weak or dusty, it may need to be stabilised before fitting. Do not install SM20 onto an unstable wall surface.
Step 2: Seal Gaps and Noise Leaks
Before fixing the panels, seal any obvious sound leakage points. Pay close attention to:
- Cracks in the wall
- Gaps at the floor line
- Gaps at the ceiling line
- Joist junctions
- Socket openings
- Pipe penetrations
- Old fireplace openings
- Corners and perimeter edges
Sound can travel through small gaps, so sealing is an important part of the installation.
Step 3: Measure and Plan the Panel Layout
Measure the wall area and plan the panel layout before applying adhesive. SM20 panels are 1000mm x 1000mm, with each panel covering 1.0m².
Plan the layout so the wall is covered as evenly as possible. Avoid unnecessary small offcuts where possible. Mark any areas that need cutting around sockets, corners or obstructions.
Step 4: Cut the SM20 Panels
Cut the SM20 panels before applying adhesive. Use a sharp utility knife and straight edge to make clean cuts.
Cut carefully around:
- Sockets
- Switches
- Corners
- Pipes
- Skirting areas
- Ceiling junctions
- Uneven edges
Try to keep the panel joints tight. Avoid leaving unnecessary gaps between panels, as gaps can reduce the acoustic performance of the system.
Step 5: Apply the Adhesive
Use the recommended high-contact adhesive for the SM20 system. Follow the adhesive manufacturer’s instructions carefully.
Apply adhesive to the back of the SM20 panel and to the wall surface where the panel will be fitted. Make sure there is good adhesive coverage and that the panel is ready to bond before pressing it into place.
Work in manageable sections. Adhesive can tack quickly, especially in warm conditions, so do not apply adhesive to too large an area at once.
Step 6: Bond the SM20 Panel to the Wall
Position the SM20 panel onto the prepared and pre-glued wall area. Press it firmly across the full face of the panel to create a strong bond.
Work from a bottom corner and install the panels in rows. Apply firm, even pressure across each panel. A roller or flat board can help press the panel evenly onto the wall.
Make sure each panel is fully bonded and sitting flat against the surface.
Step 7: Seal Joints and Gaps
Once the SM20 panels are fitted, check all joints, edges and cut areas.
Use acoustic sealant to fill any small holes, gaps or spaces between panels and around the perimeter. The aim is to create a continuous acoustic layer with no obvious weak points.
Do not leave open gaps around sockets, edges or corners.
Step 8: Allow the Adhesive to Cure
Allow the adhesive to cure before continuing with the next layer. Cure time can vary depending on temperature, ventilation and adhesive type.
Do not rush this stage. The SM20 panels need to be securely bonded before boards or plasterboard are installed over the top.
Step 9: Install the Acoustic Board or Plasterboard Layer
Once the SM20 panels are securely bonded, install the chosen finishing layer. This may include:
- Acoustic plasterboard
- dB board
- SBx acoustic board
- SoundShield plasterboard
- Other suitable acoustic lining boards
For best results, leave a small perimeter gap around the new board layer and fill it with acoustic sealant. This helps reduce sound leakage around the edges.
If installing more than one board layer, stagger the joints between layers where possible.
Step 10: Finish the Wall
Once the board layer is installed and sealed, the wall can be finished as required. This may include plaster skimming, jointing, sanding and decorating.
When refitting skirting boards or wall-mounted items, avoid bridging through the acoustic layer into the original structural wall where possible. Poor fixing details can reduce the effectiveness of the system.
Installing SM20 on Party Walls
For party walls, fit SM20 across the full wall area where possible. Pay close attention to alcoves, chimney breast returns, floor junctions and ceiling junctions, as these are common weak points.
For improved performance, SM20 is often combined with acoustic boards, acoustic plasterboard and acoustic sealant.
Installing SM20 on Stud Walls
For stud walls, SM20 can be used as part of a wall upgrade where extra mass is required. The existing wall should be stable and suitable for bonding.
For higher performance, the wall system may also include acoustic mineral wool in the cavity, additional plasterboard layers, acoustic membrane or resilient isolation products.
Installation Tips
- Prepare the wall properly before fitting.
- Seal cracks, holes and gaps before installing panels.
- Cut all panels before applying adhesive.
- Use the correct high-contact adhesive.
- Press each panel firmly across the full surface.
- Keep panel joints tight.
- Seal gaps with acoustic sealant.
- Cover the SM20 with suitable acoustic board or plasterboard.
- Stagger board joints where multiple board layers are used.
- Do not rely on SM20 as a standalone finished system.
Important Soundproofing Note
SM20 Rubber Panel helps improve acoustic performance by adding mass to a wall system, but the final result depends on the full build-up. The existing wall type, board layers, sealing detail, installation quality and flanking paths all affect the final level of sound reduction.
For best results, SM20 should be combined with suitable acoustic boards, plasterboard and acoustic sealant. If you are unsure how to use SM20 for your project, please contact our team before installation.